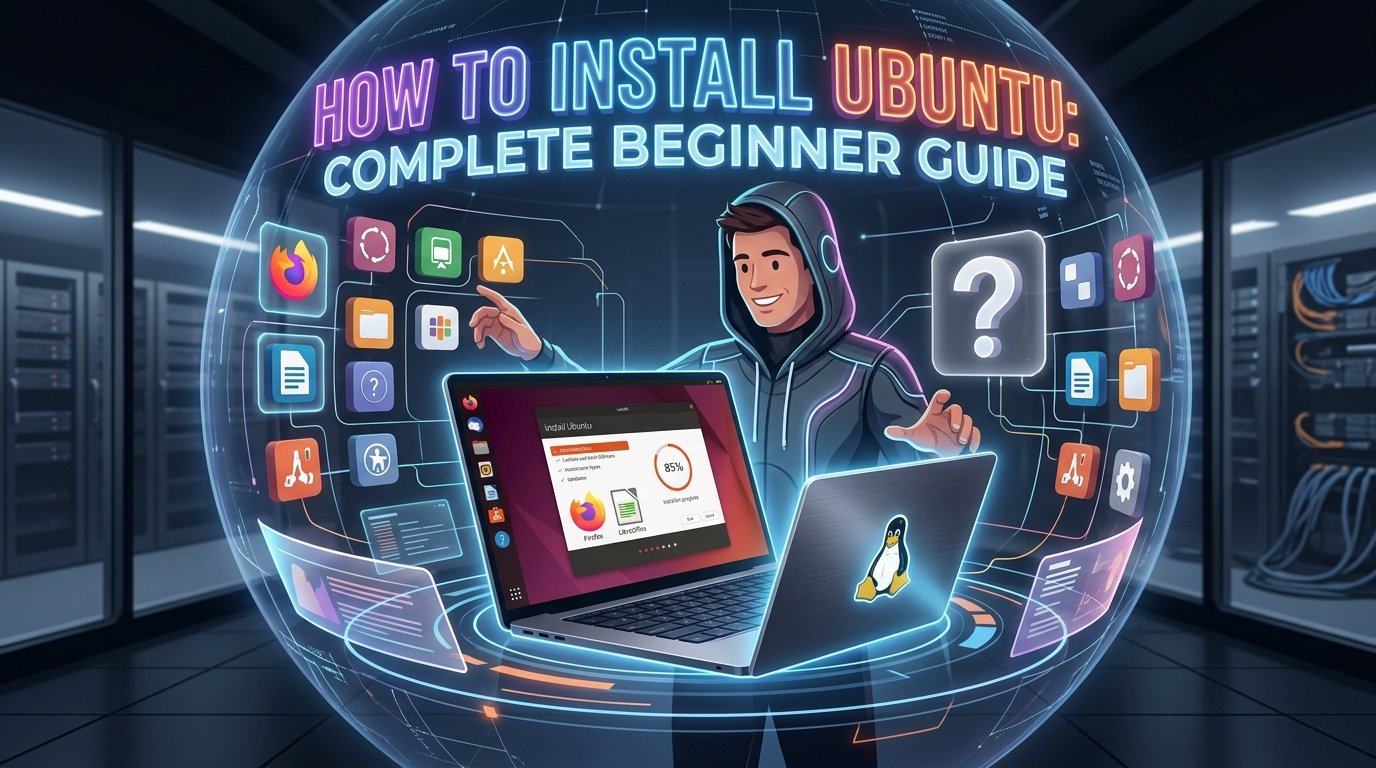
Ubuntu is one of the most popular Linux distributions and is a great choice if you’re learning Linux for the first time.
You can install Ubuntu on a physical computer, run it inside a virtual machine, or install it alongside another operating system.
In this guide, we’ll explain how to install Ubuntu step by step, from preparing the installation media to completing the initial setup.
Important: If you are installing Ubuntu on a computer that contains important files, make a backup before changing partitions or installing an operating system.
What You Need Before Installing Ubuntu
Before starting, prepare:
- A computer that meets Ubuntu’s requirements
- A USB flash drive
- A stable internet connection
- A second computer if you need to create the USB installer
- A backup of important files
If you’re only learning Linux, you can also install Ubuntu in VMware Workstation, VirtualBox, or another virtualization platform instead of modifying your main computer.
For beginners, a virtual machine is often the safest way to practice.
Step 1: Download Ubuntu
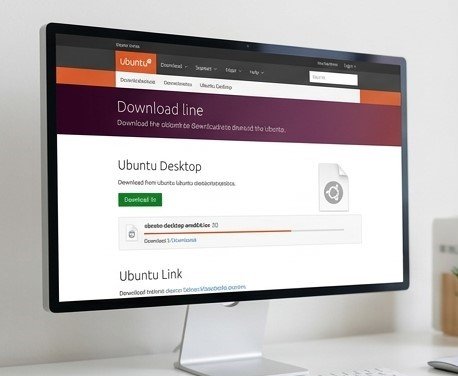
Download Ubuntu from its official website.
Choose the appropriate Ubuntu Desktop version and download the ISO image.
The ISO file contains the operating system installation files.
After downloading it, you should have a file similar to:
ubuntu-desktop-amd64.isoThe exact filename will depend on the Ubuntu release.
Step 2: Create a Bootable USB
An ISO file cannot simply be copied to a USB drive like a normal document.
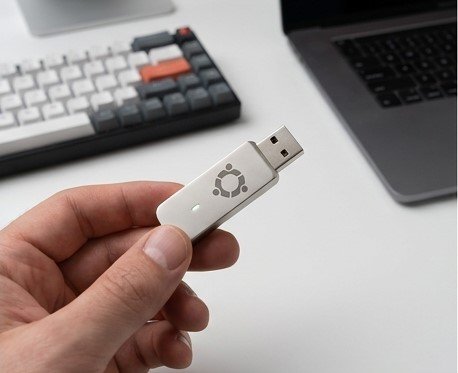
You need to create a bootable USB installer.
Tools such as Rufus can be used on Windows to create the USB installer.
The general process is:
- Insert the USB drive.
- Open your USB creation tool.
- Select the Ubuntu ISO.
- Select the USB drive.
- Start the process.
- Wait until the USB is ready.
Warning: Creating a bootable USB may erase existing data on the USB drive. Make sure you select the correct drive.
Step 3: Boot From the USB
Insert the bootable USB into the computer where you want to install Ubuntu.
Restart the computer.
During startup, open the Boot Menu.
The key depends on the computer manufacturer. Common keys include:
F12
F11
F9
Esc
Select the USB device from the boot menu.
The computer should then start the Ubuntu installer.
Step 4: Start the Ubuntu Installation
Once Ubuntu starts, you’ll normally see an option to try Ubuntu or begin the installation.
If you want to install Ubuntu permanently, select the installation option.
The installer will guide you through several configuration steps.
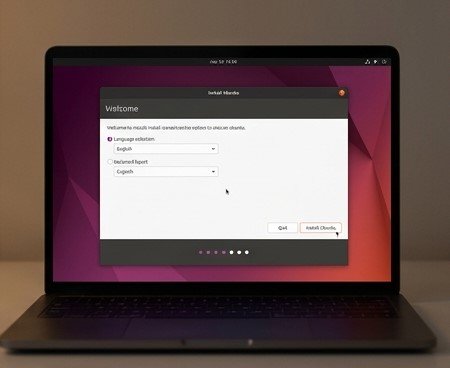
Step 5: Choose Your Language
Select the language you want to use for Ubuntu.
For example:
EnglishThen continue to the next step.
Step 6: Configure Your Keyboard
Select the appropriate keyboard layout.
For example:
English (US)or another layout that matches your physical keyboard.
You can usually test the keyboard before continuing.
Step 7: Connect to the Internet
If possible, connect your computer to the internet during installation.
A network connection can allow Ubuntu to download updates and additional software during the installation process.
You can use:
- Ethernet
- Wi-Fi
If internet access isn’t available, you can usually continue and configure the connection later.
Step 8: Choose Installation Options
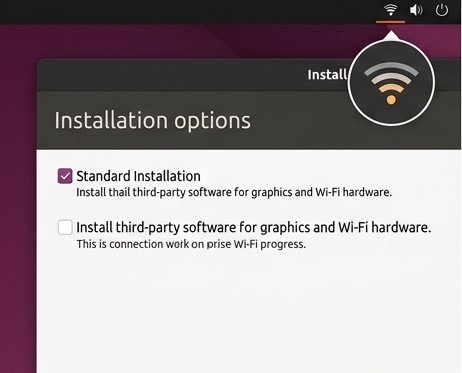
Ubuntu may provide different installation options depending on the release.
You may be able to choose between a standard installation and a more minimal installation.
For a beginner desktop installation, the standard option is generally the easiest choice.
You may also see an option to install additional software or third-party components.
Read the options carefully before continuing.
Step 9: Choose the Disk Installation Method
This is one of the most important steps.
Ubuntu needs to know where it should be installed.
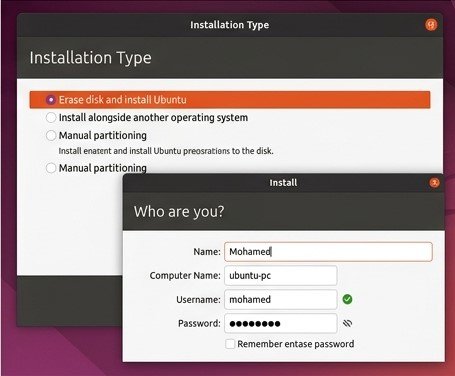
Depending on your computer, you may see options such as:
- Erase disk and install Ubuntu
- Install Ubuntu alongside another operating system
- Manual partitioning
Erase disk
This removes the existing operating system and data from the selected disk.
Do not select this option if you have important files that haven’t been backed up.
Install alongside another operating system
This allows you to keep an existing operating system and create a dual-boot configuration.
This can be useful if you want both Windows and Ubuntu on the same computer.
Manual partitioning
Advanced users can manually configure partitions.
If you’re a beginner, avoid manual partitioning unless you understand Linux storage and partitioning.
Step 10: Create Your User Account
Ubuntu will ask you to create a user account.
You’ll typically provide:
- Your name
- Computer name
- Username
- Password
For example:
Name: Mohamed
Username: mohamed
Computer name: ubuntu-pc
Choose a strong password that you can remember.
Step 11: Choose Your Time Zone
Select your geographical location or time zone.
The installer will use this information to configure the system clock.
You can change the time zone later from Ubuntu’s settings.
Step 12: Start the Installation
Review your settings.
If everything looks correct, start the installation.
Ubuntu will copy the necessary files to the disk and configure the operating system.
The installation can take several minutes depending on your computer and storage drive.
Step 13: Restart the Computer
When the installation finishes, Ubuntu will ask you to restart the computer.
Remove the USB installer when prompted.
The computer should then boot into your new Ubuntu installation.
Step 14: Update Ubuntu
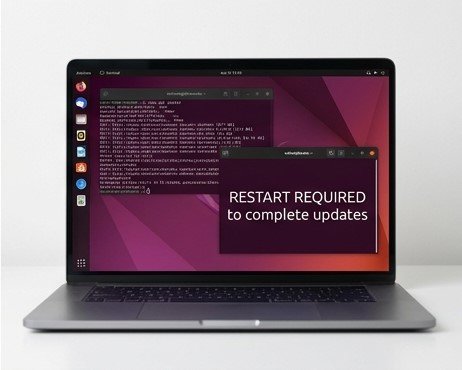
After logging into Ubuntu for the first time, update the system.
Open the Terminal and run:
sudo apt updateThen:
sudo apt upgradeYou may be asked for your user password.
Keeping the system updated is important for security and stability.
Step 15: Install Useful Software
Once Ubuntu is installed, you can install additional applications using the package manager.
For example:
sudo apt install curlYou can also install applications through Ubuntu’s graphical software store.
As you become more comfortable with Linux, learning how to use APT from the terminal will be very useful.
Check Your Ubuntu Version
To check the installed Ubuntu version, open the terminal and run:
lsb_release -aYou can also use:
cat /etc/os-releaseThese commands display information about your Linux distribution.
Useful Commands After Installing Ubuntu
Here are a few commands worth remembering:
Update packages
sudo apt updateUpgrade packages
sudo apt upgradeInstall software
sudo apt install package-nameRemove software
sudo apt remove package-nameCheck disk space
df -hCheck memory
free -hCheck IP address
ip addrThese commands will become useful as you continue learning Linux administration.
Ubuntu in a Virtual Machine
If your goal is to learn Linux rather than replace Windows, installing Ubuntu in a virtual machine is an excellent option.
You can create an Ubuntu virtual machine using software such as:
- VMware Workstation
- VirtualBox
- Hyper-V
A virtual machine allows you to experiment with Linux without modifying your main Windows installation.
This is particularly useful for beginners learning:
- Linux commands
- Networking
- SSH
- Servers
- System administration
Common Ubuntu Installation Problems
USB doesn’t boot
Check:
- Boot order
- USB creation process
- BIOS/UEFI settings
- Whether Secure Boot is affecting the installation
You can also recreate the bootable USB.
Wi-Fi doesn’t work
Your wireless adapter may require a compatible driver.
Connect using Ethernet if possible and check Ubuntu’s available driver options.
Not enough disk space
Free some storage or use another disk.
Never delete important partitions simply to create space unless you understand what they contain.
Ubuntu installation fails
Check:
- Installation media
- ISO integrity
- Disk health
- Available storage
- Hardware compatibility
Should You Install Ubuntu on Your Main PC?
If you’re completely new to Linux, I recommend trying Ubuntu in a virtual machine first.
This allows you to learn without risking your existing Windows installation.
Once you’re comfortable with Linux, you can consider:
- Dual boot
- Dedicated Linux computer
- Linux server
- Cloud virtual machine
Conclusion
Learning how to install Ubuntu is one of the best ways to start practicing Linux.
The installation process is relatively straightforward, but you should always back up important data before modifying disks or partitions.
If you’re learning Linux, a virtual machine is an excellent starting point because it lets you experiment safely.
After installing Ubuntu, start practicing the terminal, package management, users, permissions, networking, and system administration.